Phone: For support in Australia, call 1300 401 111 and select option 3 for Bp Allied. Next, select option 1 for Support or Option 3 for Training. For support in New Zealand call 0800 401 111 and select option 3 for Bp Allied. Next, select option 1 for Support or Option 3 for Training
Editing an Invoice
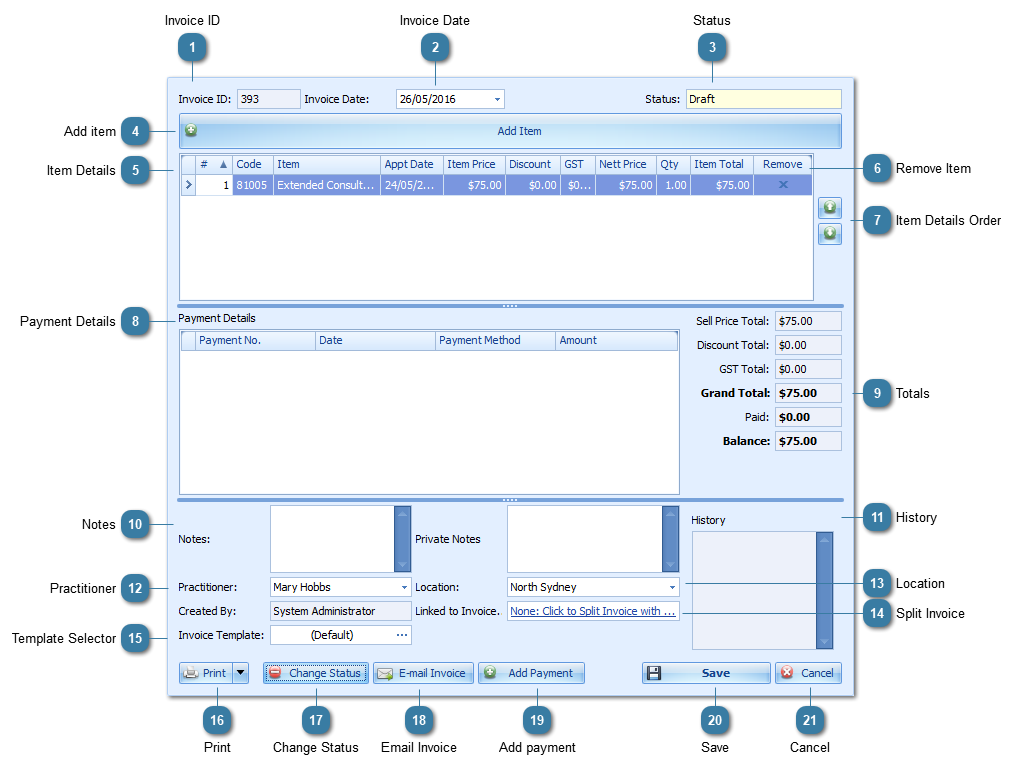
Invoices can be edited both at the time of creation or at a later date. The fields on the Invoice screen are explained below.
To edit an Invoice
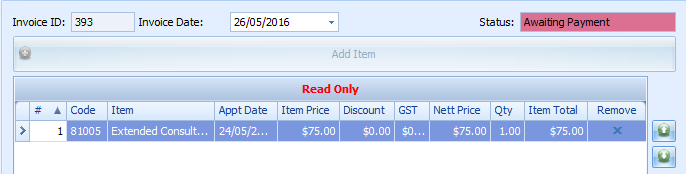
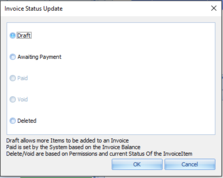
To edit the Item Details in an invoice the Invoice Status must be Draft. In any other status the Item details are set to read only.
Other invoice details such as date can be edited in Awaiting Payment status.
Nothing can be edited when the Invoice has a status of Paid, Deleted or Voided.
Invoice ID
Displays the Invoice ID number, please note this number is automatically generated but you can set your next Invoice ID and Payment ID under System > Options > Invoices > Invoice Numbering Options.
If Invoice Numbering per Location is turned on then the Location can’t be edited on an invoice once the invoice is created. The invoice will need to be deleted and recreated with the correct Location so that the correct invoice number series can be associated to it.