Viewing and Managing Incoming Secure Messages
Managing Incoming Secure Messages
This applies to all secure messaging services. If they have the Incoming Messages folder in Options > Secure Messaging set to the folder in which incoming messages are placed by whichever service they use. However, there is no requirement for a practice to use this, except if they are using our Fully Hosted service.
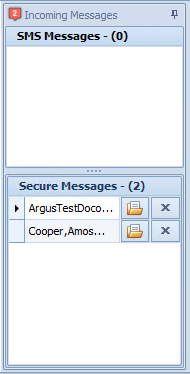
If a user has a secure messaging service set to Active in Options > Secure Messaging then the Incoming Messages form, available from the right-hand menu in the Appointment Book will split into two. The bottom half of the form will display any messages received in.
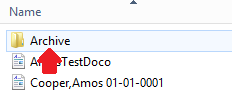
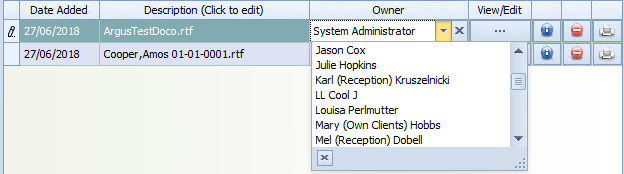
All messages are named in “Lastname, Firstname DOB” format and received in as a .rtf (rich text) file.
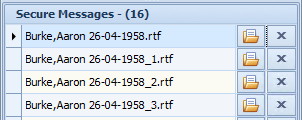
If there are multiple documents for a client, the filename will increment with the number of the document that is received, as shown below:
Saving a message that has been received into Incoming Messages
This is the only save option available to Bp Allied Fully Hosted customers.
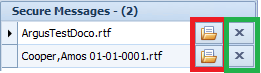
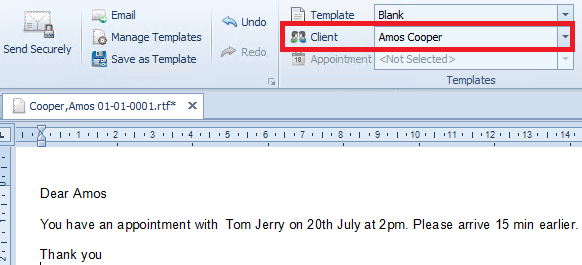
Use the Open button highlighted in RED above to open the document in the Letter editor.
Select the relevant Client from the Client drop-down
Select Save to Client Record
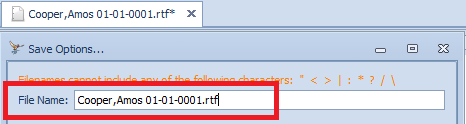
Update the File Name if required
Click OK
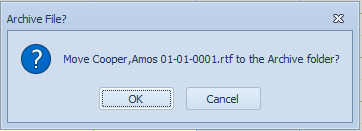
Removing a message that has been received into Incoming Messages
Clicking on the X highlighted in GREEN will display the Archive File message below:
Clicking OK will move the file into the Archive folder in the Incoming Messages file location.
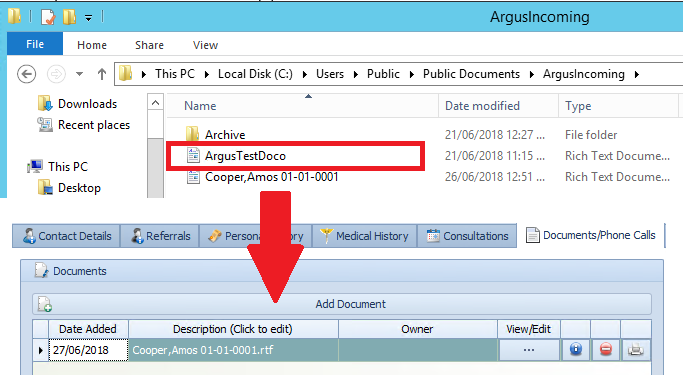
Saving a message that has been received but not into Bp Allied
If a message has been received into an incoming messages folder it can be dragged and dropped directly into the Documents location in the Client Record. This option is NOT available to Bp Allied Fully Hosted customers.
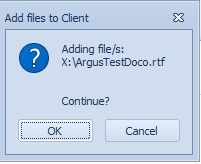
The Add files to Client message box will display
Clicking OK will add the document with the logged in User as the Owner. This can be changed by clicking on the drop down.