Phone: For support in Australia, call 1300 401 111 and select option 3 for Bp Allied. Next, select option 1 for Support or Option 3 for Training. For support in New Zealand call 0800 401 111 and select option 3 for Bp Allied. Next, select option 1 for Support or Option 3 for Training
Invoices
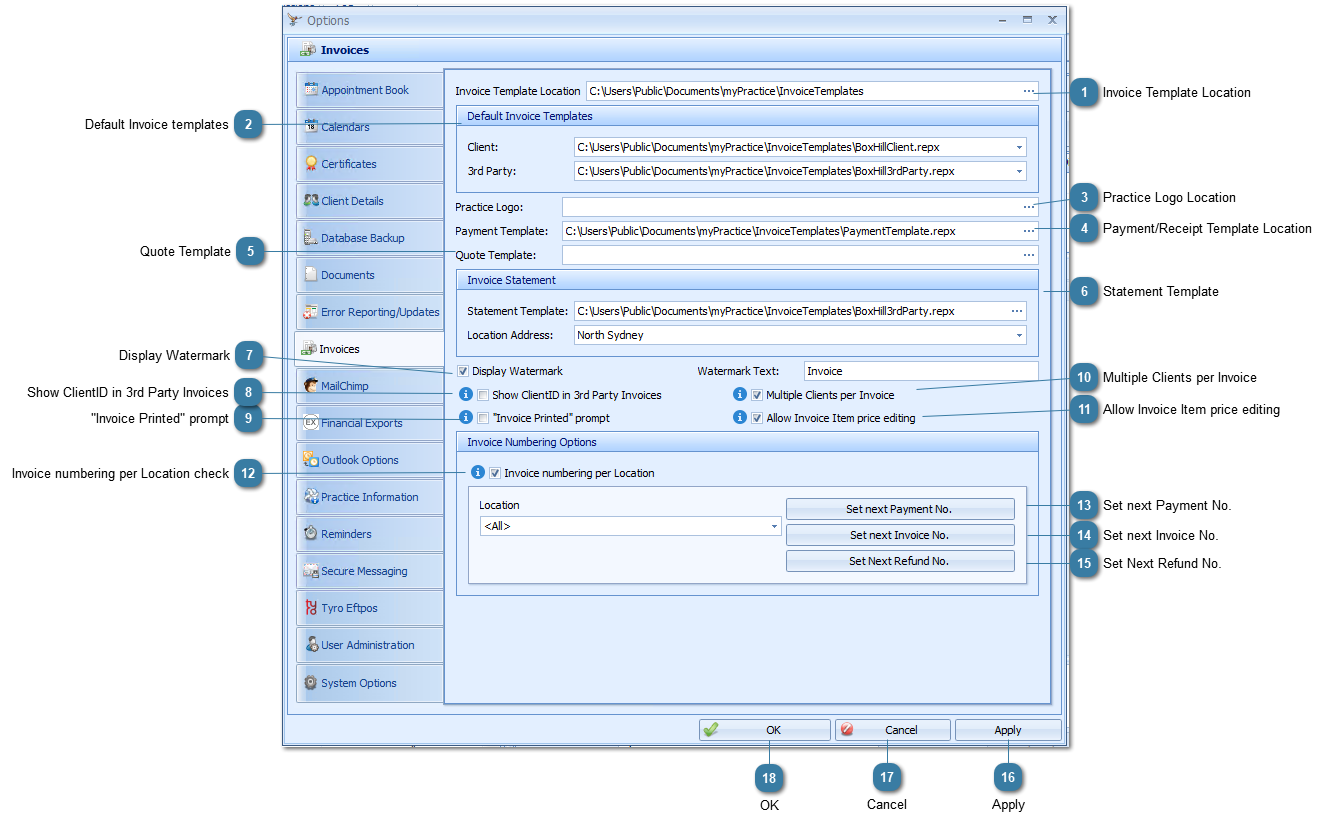
This section sets up the defaults used by the Invoices module of Bp Allied. Click here for details on how Invoice Templates can be customised.
Function changes in Bp Allied Version 5
Due to the integration with TYRO Eftpos the auto generate payment option has been removed.
Due to the integration with Medicare Online Claiming and the change in the Invoicing Process the Auto-Close 3rd Party Invoices has been removed.
Invoice Template Location
This is the location of the Invoice Templates. By default this is a "public" folder so that the templates are available for all users of the computer. This is set for each computer.
The default templates for both Client and 3rd Party invoices can be set here. These options are set for each user on each computer and saved in HKCU in the registry.
If this needs to be set per computer, then these changes need to be made via MPSettings. Please contact alliedsupport@bpsoftware.net for help with this. When there are no options saved in HKCU then BpAllied will read these defaults from HKLM.
Specifiying a logo graphic file in here allows the graphic file to be inserted into a default Bp Allied Invoice Template that includes a logo space. These files are denoted with Logo as opposed to "noLogo" in the file name.
The logo file format should be either a .jpg or a .png file.
Specify the default Statement template and the default location address to include on the template.
As with Invoice Templates, Statement templates need to be developed by the Bp Allied Support team. The cost of this is covered in your normal Software Assurance. Please contact the support team with any queries or requests in relation to these.
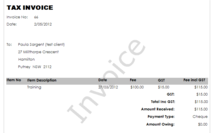
If this is used then the Client ID field is entered into a Third party invoice rather than the clients name. This is done at the time the invoice is created so no changes need to be made to the Invoice templates. See above that the Client ID number 278279_MP is displayed in the Invoice rather than the Clients name.
This allows the price of an item to be changed after it has been added to an invoice. It can be handy to allow this option if things like disbursements are invoiced for as these will be a different value each time they are charged for.
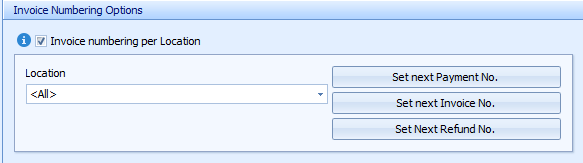
For practices with multiple locations Invoice and Payment numbering can be set for each location. This enables the identification of location by a specific series of invoice numbers e.g. Sydney starts at 10000, Brisbane starts at 20000 and Melbourne starts at 30000. This is an organisational wide setting and requires a Bp Allied Administrator password to set the numbers.
Please note that you must have a appropriate permissions to be able to change this value.
If Invoice Numbering per Location is turned on then the Location can’t be edited on an invoice once the invoice is created. The invoice will need to be deleted and recreated with the correct Location so that the correct invoice number series can be associated to it.