Creating and Sending a HealthPoint Claim
Prerequisites
A claim can only be for:
-
one practitioner
-
one modality (e.g. psychology or speech, not both)
-
one service (appointment) date
-
Multiple appointments or items that occur on the same day can be sent on the same invoice up to a maximum of 16 items.
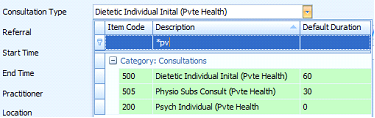
Create an appointment for the Client with the appropriate Health Fund item selected as the Consultation Type.
Right click on the Appointment and click Create Invoice
Create a Client Invoice
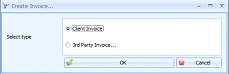
Click No to create a New Invoice

The Payment Processing dialog will display
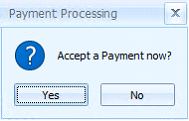
If additional items need to be added to the Invoice, click No
-
Add additional Items to the Invoice by clicking Add Item and selecting the item from the list.
-
If it is an item for which there is no relevant appointment, the Appointment Date sent with the claim for that item will be the same as that for the Appointment already associated with the invoice.
-
Once all items have been added, click Add Payment
If only the one Item is to be claimed, click Yes
Select Payment Method = HealthPoint Claim (Tyro)
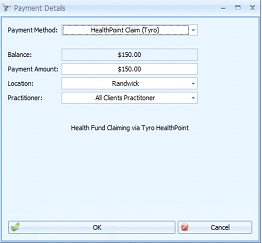
Click OK
The Lodge Claim screen will display
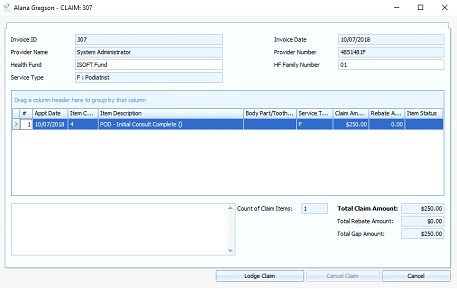
Add a Body Part/Tooth Number if required
Click Lodge Claim
-
Even if the Invoice has previously submitted to the Health Fund as a quote, it still needs to be lodged as a claim via this process.
A Tyro Healthpoint prompt will display asking for the Client’s health fund card to be swiped.
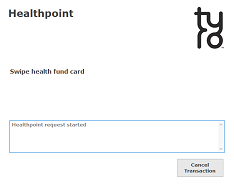
Once the card has been swiped then the claim will be processed.
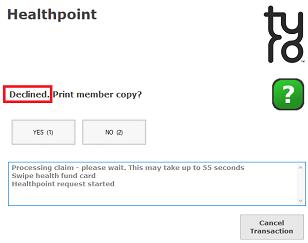
Once processed, the tyro terminal will print a copy of the claim for the client to view. The possible Claim Statuses are:
-
APPROVED – Claim was Approved by the Health Fund and Accepted by patient
-
VOIDED – Claim was Approved by Fund and Rejected by patient
-
CANCELLED – Claim is already cancelled
-
RECONCILED – Claim is already settled (Claimed prior to this day)
-
DECLINED – Claim was declined by the Health Fund
-
FAILED – an error occurred during processing of the Claim, system Void
If the claim is Approved by the fund, then the Healthpoint screen will prompt for the Client to either Accept or Reject the Claim.
-
If the claim is Rejected at this point, it can be resubmitted if required.
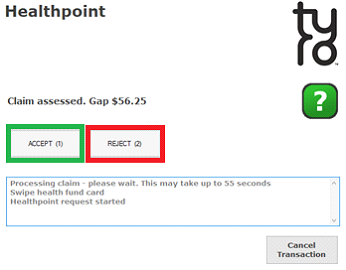
If Accepted (green box above) by the Client, then:
-
the Claim Status will be set to Approved
-
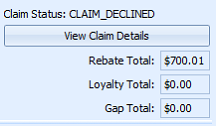
the Rebate Total, Loyalty Total and Gap Total amounts are displayed on the Invoice screen
-
a HealthPoint (Tyro) payment is displayed.
-
the system then requests payment of the Gap Amount, if required.
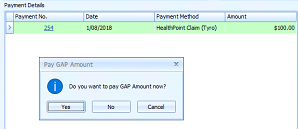
Click Yes or No to pay the Gap as required
Follow the usual method to select and process a payment.
The Invoice Status will be updated depending on whether full payment has been received or not.
If Rejected (red box above) by the Client, then:
-
the Claim Status will be set to Voided
-
the Rebate Total, Loyalty Total and Gap Total amounts are displayed on the Invoice screen
-
the Invoice Status is set to Awaiting Payment
-
a payment can be taken for the full amount in the usual way.
If Declined by the Health fund, then the following details will be displayed: